
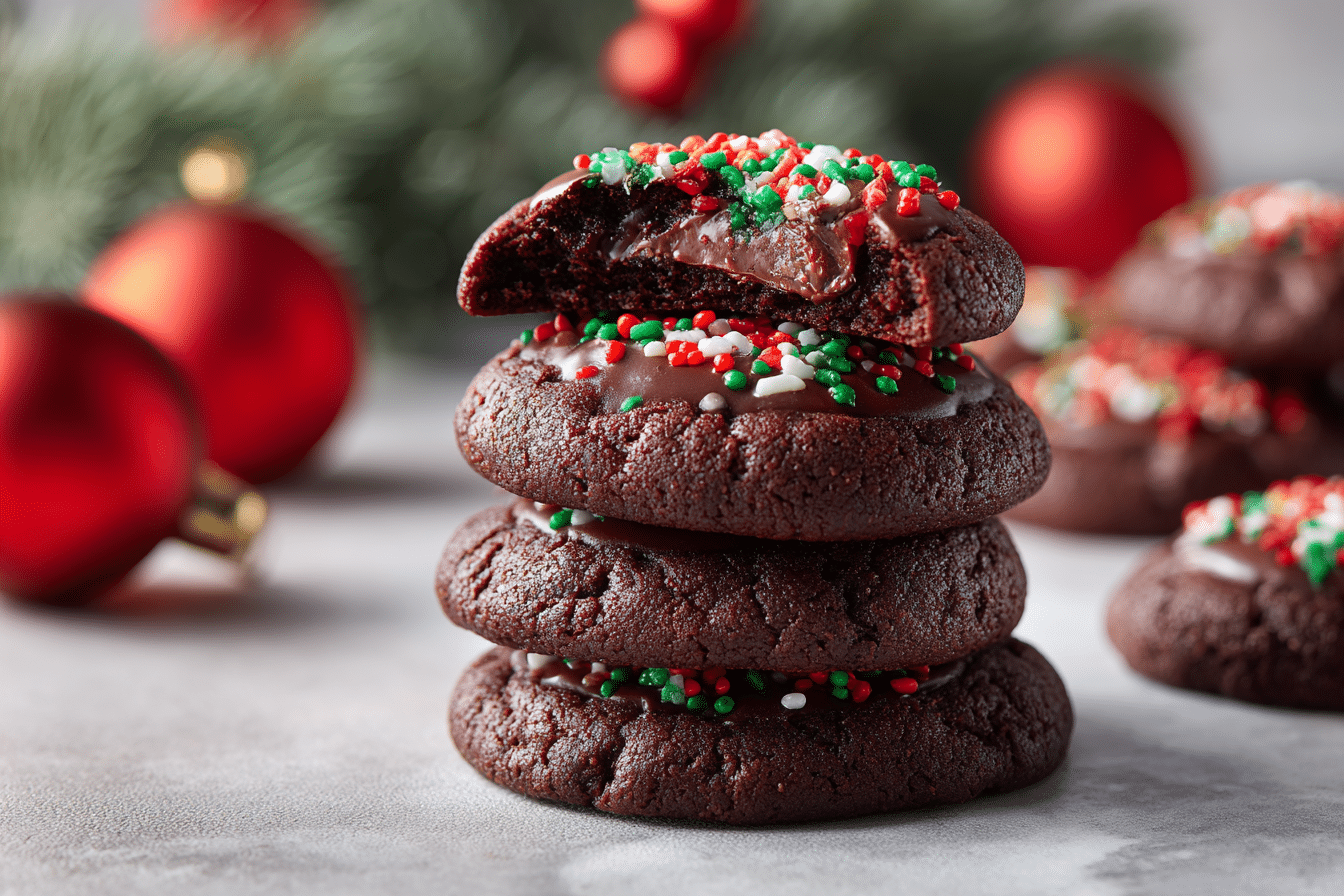
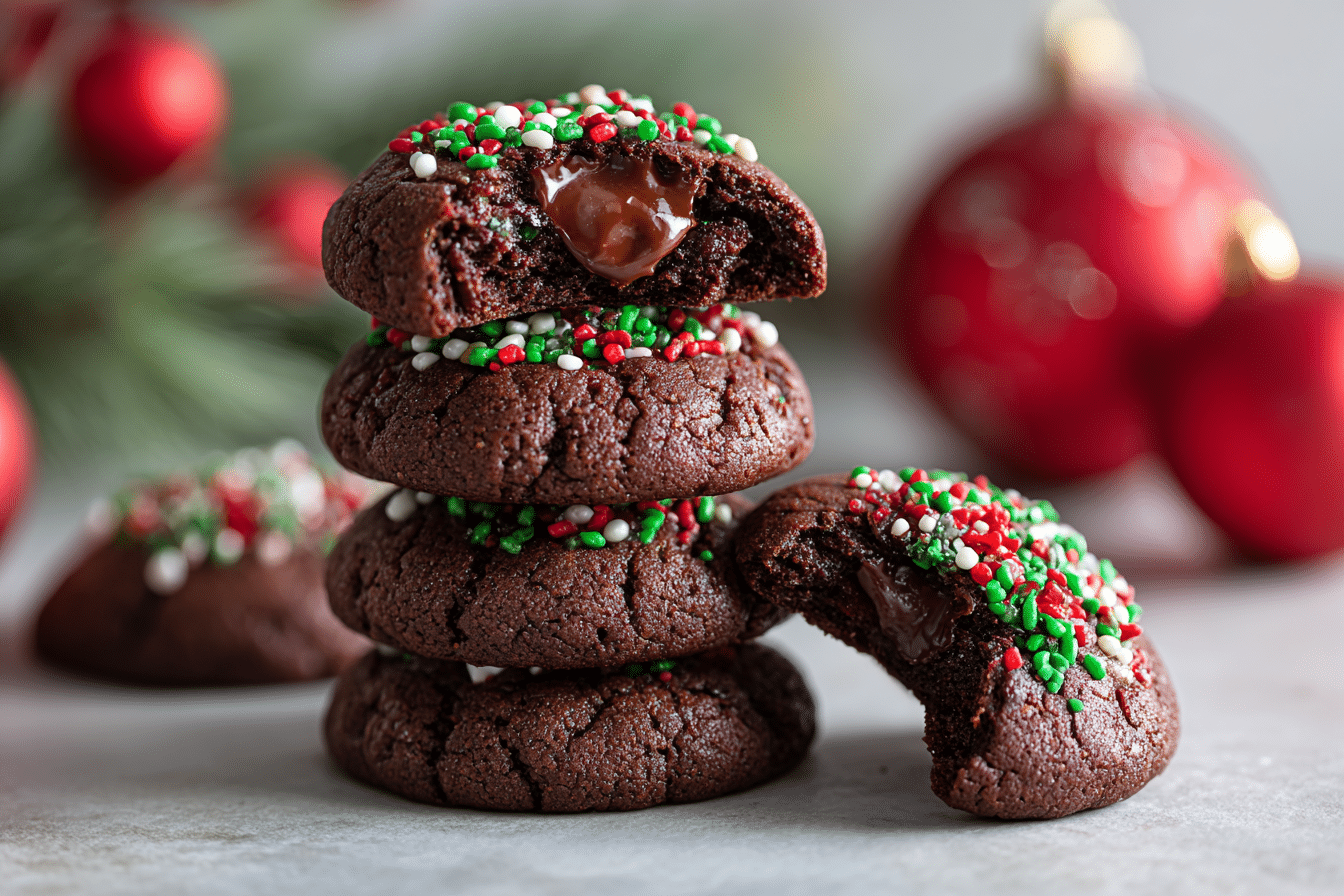
Few cookies feel as nostalgic and comforting as Chocolate Thumbprint Cookies. With their soft, buttery base and a rich chocolate center that melts on the tongue, they strike the perfect balance between elegance and indulgence. Whether dressed up with sprinkles for the holidays or kept simple for everyday treats, these classic cookies never go out of style.
Originating from central European traditions, thumbprint cookies are traditionally filled with jam — but the chocolate version has taken on a life of its own. Often compared to a cross between shortbread and brownies, they deliver a tender crumb with a fudgy center that appeals to every age.
Perfect for gifting, cookie exchanges, or cozy afternoons with tea or coffee, these cookies are always a hit. Plus, they’re simple to make and freeze beautifully.
Ingredients Overview
These cookies rely on pantry staples, but the quality and technique make all the difference in taste and texture.
Butter
-
Role: Provides richness, tenderness, and that melt-in-your-mouth quality.
-
Tips: Use unsalted butter at room temperature for creaming. High-fat European-style butter yields even better flavor.
Sugar
-
Role: Granulated sugar sweetens and helps cream the butter for a light, tender dough.
-
Tips: For a slightly more tender cookie, substitute half with brown sugar.
Egg Yolk
-
Role: Adds richness and binds the dough while keeping the texture soft.
-
Tips: Save the white for brushing or another recipe like meringues.
Vanilla Extract
-
Role: Deepens the flavor and balances the chocolate.
All-Purpose Flour
-
Role: Forms the structure of the cookie.
-
Tips: Measure with the spoon-and-level method for accuracy.
Salt
-
Role: Enhances all the other flavors and balances sweetness.
Chocolate Filling (Bittersweet or Semi-Sweet Chocolate)
-
Role: The star of the center — smooth, rich, and deeply satisfying.
-
Tips: Use high-quality chocolate bars over chips for the smoothest finish.
Heavy Cream
-
Role: Turns melted chocolate into a soft, ganache-like filling.
Step-by-Step Instructions
With a few simple techniques, you’ll have bakery-quality cookies with minimal fuss.
1. Make the Dough
In a large bowl, cream together ½ cup (1 stick) unsalted butter and ⅓ cup granulated sugar until light and fluffy — about 2–3 minutes.
Mix in 1 egg yolk and 1 teaspoon vanilla extract. Scrape down the sides of the bowl.
Add 1 cup all-purpose flour and ¼ teaspoon salt. Mix until just combined. The dough will be soft but not sticky.
2. Chill the Dough
Wrap the dough in plastic wrap and refrigerate for 30–60 minutes. This step helps prevent spreading during baking.
3. Preheat and Shape
Preheat the oven to 350°F (175°C). Line a baking sheet with parchment paper.
Scoop dough by the tablespoon and roll into smooth balls. Place 2 inches apart on the baking sheet.
Use your thumb or the back of a ½ teaspoon to gently press an indentation in the center of each ball.
4. Bake
Bake for 10–12 minutes, until the edges are just set and bottoms are lightly golden. If the indentations puff up, gently press them again immediately after baking.
Cool completely before filling.
5. Make the Chocolate Filling
In a small saucepan or heatproof bowl, heat ½ cup chopped chocolate (or chips) with 3 tablespoons heavy cream over low heat or in the microwave (in 20-second intervals), stirring until smooth and glossy.
Let it cool slightly so it thickens but is still spoonable.
6. Fill the Cookies
Spoon about 1 teaspoon of chocolate ganache into each indentation. Let sit at room temperature or chill to set the centers.
Tips, Variations & Substitutions
-
Flavored Filling: Add a few drops of peppermint or orange extract to the ganache for seasonal flair.
-
Add Nuts: Roll the cookie dough balls in chopped hazelnuts, pecans, or almonds before baking.
-
Jam Center Option: Skip the chocolate and fill with raspberry or apricot jam instead.
-
Dairy-Free Version: Use plant-based butter and coconut cream with dairy-free chocolate.
-
Double Chocolate: Add 1 tablespoon cocoa powder to the dough for a chocolate-on-chocolate version.
Serving Ideas & Occasions
Chocolate thumbprint cookies shine in:
-
Holiday dessert trays
-
Cookie swaps and exchanges
-
Tea parties or coffee breaks
-
Edible gifts in cellophane bags or tins
-
Everyday snacks for chocolate lovers
Pair them with:
-
Espresso or hot cocoa
-
Chilled almond milk
-
Vanilla ice cream for a dessert board
They also make a lovely addition to cookie decorating nights with kids — top with sprinkles or edible glitter for fun.
Nutritional & Health Notes
While these cookies are a treat, they’re portion-controlled and satisfying with just a few bites. One cookie typically contains:
-
~100–120 calories
-
~6g fat
-
~1g protein
-
~10g carbohydrates
To make them a bit more nutrient-conscious:
-
Use dark chocolate (70% cocoa or higher)
-
Reduce sugar slightly (to ¼ cup)
-
Use whole wheat pastry flour for added fiber
They’re naturally nut-free (unless coated) and can be adapted for gluten-free and dairy-free diets with a few swaps.
FAQs
Q1: Can I make the dough ahead of time?
A1: Yes. The dough can be made up to 2 days in advance. Keep it tightly wrapped in the refrigerator, then let it soften slightly before shaping.
Q2: Do I need to chill the dough?
A2: Yes. Chilling helps firm the butter and prevents the cookies from overspreading in the oven.
Q3: Can I freeze these cookies?
A3: Absolutely. You can freeze the baked cookies (before or after filling), or freeze the dough balls and bake from frozen with a few extra minutes.
Q4: Why did my thumbprints crack?
A4: Slight cracking is normal and adds a rustic look. To reduce cracking, roll the dough balls until very smooth and press the indent slowly.
Q5: What kind of chocolate is best?
A5: Bittersweet or semi-sweet chocolate (60–70% cocoa) melts smoothly and balances the sweetness of the cookie base. Avoid overly sweet milk chocolate.
Q6: Can I make them gluten-free?
A6: Yes. Use a 1:1 gluten-free flour blend with xanthan gum included. The texture may be slightly more delicate.
Q7: How do I store leftover cookies?
A7: Keep cookies in an airtight container at room temperature for up to 5 days. For longer storage, refrigerate or freeze them in layers separated by parchment.
PrintChocolate Thumbprint Cookies – Buttery, Fudgy & Irresistibly Classic
Soft, buttery cookies with a fudgy chocolate center, these chocolate thumbprint cookies are perfect for holidays, gifting, or everyday indulgence.
Ingredients
-
½ cup unsalted butter, softened
-
⅓ cup granulated sugar
-
1 egg yolk
-
1 tsp vanilla extract
-
1 cup all-purpose flour
-
¼ tsp salt
Chocolate Filling:
-
½ cup chopped bittersweet or semi-sweet chocolate
-
3 tbsp heavy cream
Instructions
-
Cream butter and sugar until light and fluffy. Mix in egg yolk and vanilla.
-
Add flour and salt. Mix until just combined. Chill for 30–60 minutes.
-
Preheat oven to 350°F. Line baking sheet with parchment.
-
Roll dough into balls. Place on sheet and press center gently with thumb or teaspoon.
-
Bake 10–12 minutes. Press centers again if needed. Cool completely.
-
Melt chocolate and cream until smooth. Spoon into cookie centers.
-
Let chocolate set at room temperature or refrigerate briefly.
Notes
-
Add flavored extracts to ganache for variety.
-
Roll dough in nuts or sprinkles for a decorative finish.
-
Store in airtight container for up to 5 days.